Quick answer: a haircut record sheet documents the decisions behind a cut: sections, elevation, over-direction, guideline, tools, lengths and finish, with a head diagram and standardised photos. It lets you repeat the cut precisely, train your team and follow the client over time. With a ready-made template, it takes 3 to 5 minutes to fill in.
"Just like last time" is a phrase every hairdresser has heard — and one many cannot deliver, because they do not remember exactly what they did. A cut that only you can repeat, and only from memory, does not scale: nobody else on the team can do it, it cannot be taught and it depends on the day. A haircut record sheet solves that.
In this guide you will see what to record, how to draw a simple diagram and how to make the sheet a salon routine.
Why document the cut?
- Precise repetition: the client comes back 6 weeks later and the cut comes out the same — or evolves as planned;
- Team continuity: if you are away, a colleague can take the appointment;
- Teaching: the sheet is training material for assistants and new stylists;
- Technical growth: reviewing your sheets, you notice patterns, successes and mistakes;
- Client relationship: the client sees care and professionalism.
What goes on a haircut record sheet?
1. Client and hair details
- name, date and stylist;
- texture (straight, wavy, curly, coily), strand thickness and density;
- cowlicks, front hairline, nape;
- chemical history;
- face shape and the goal of the cut — the visagism reading behind it. For scalp-health information, see the trichology consultation form.
2. Sections
How the hair was divided: parting, four-section split, horseshoe section, horizontal, vertical or diagonal sections. Sections determine control.
3. Guideline
The first section cut, which guides the rest. Note where it was set (nape, front, top), its length and whether it is stationary or travelling.
4. Elevation
The angle of the section relative to the curve of the head at the moment of cutting:
| Elevation | Effect |
|---|---|
| 0° | Maximum weight, a solid line (as in a blunt bob) |
| 45° | Graduation, weight build-up with a transition |
| 90° | Uniform layers that follow the head |
| 180° | Long layers, shorter on top and longer underneath |
5. Over-direction and distribution
Where the section was pulled before cutting (natural fall, perpendicular, over-directed forwards or backwards). This defines where length builds up — for example, over-directing sections backwards creates more length at the front.
6. Finger position and cutting line
Parallel to the section or not, and the angle of the scissors or razor.
7. Tools and texturising techniques
Scissors, razor, clippers (with guard number), thinning shears; techniques such as point cutting, slide cutting, razor texturising.
8. Key lengths
Measurements in centimetres at fixed points: nape, behind the ear, side, front, top. This is the most useful data for repeating the cut.
9. Finish
With or without a hairdryer, brush, diffuser, products used and how the client styles it at home.
10. Notes and next steps
What to adjust next time, suggested maintenance interval and the client’s reaction.
A completed example (blunt bob)
A summary example to show a useful level of detail:
- Client: straight hair, medium strands, high density; cowlick at the crown; no chemicals; oval face.
- Goal: chin-length blunt bob with weight at the line.
- Sections: left side parting; horizontal 1 cm sections from the nape.
- Guideline: nape, 4 cm below the hairline, stationary.
- Elevation: 0° throughout.
- Over-direction: natural fall; sides slightly back to keep length at the front.
- Tools: straight scissors; light point cutting only on the front ends.
- Key lengths: nape 4 cm; behind the ear 12 cm; front 15 cm.
- Finish: blow-dry with a medium round brush; light serum on the ends.
- Next steps: return in 6 weeks; consider light graduation at the nape because of the cowlick.
With this record, anyone on the team can repeat the cut — and the client sees that the service follows a method.
How do you draw a simple diagram?
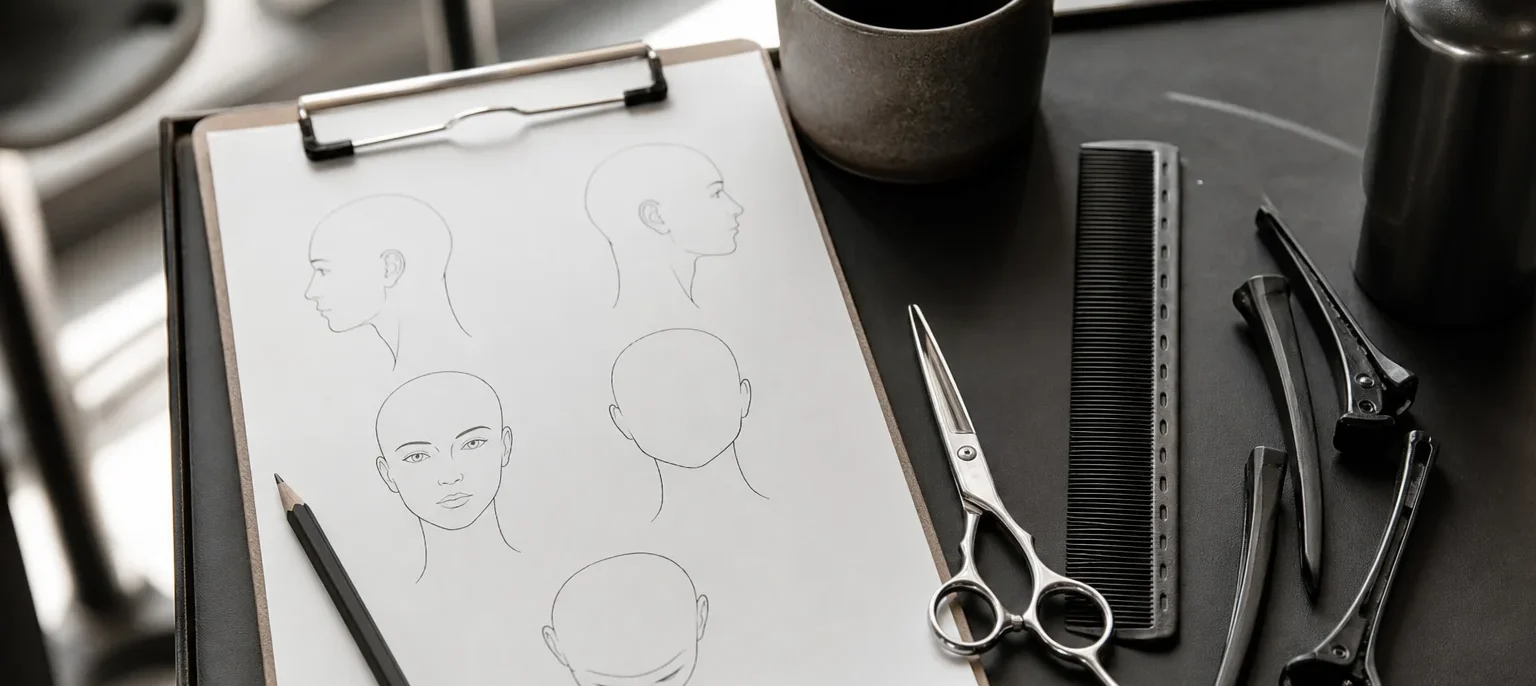
You do not need to be able to draw. A template with four views of the head — front, right profile, left profile and nape, plus a top view — is enough. On it, mark:
- the sections, with lines;
- the guideline, with a colour or bolder stroke;
- arrows showing the over-direction;
- numbers showing the elevation in each area;
- key lengths in centimetres.
Over time you will create your own "alphabet" of symbols. What matters is that someone else on the team can understand it.
Standardised photos
Photos complete the sheet — but only help if they can be compared:
- the same background (neutral, no objects);
- the same light, ideally natural or a fixed salon light;
- the same positions: front, both profiles, nape and top;
- hair styled the way the client wears it;
- before and after, for internal records.
Photos are personal data. Ask for written consent, explain their use and store them securely, in line with data-protection law — in Brazil, the General Data Protection Law (LGPD). For social media use, the permission must be specific.
Paper or digital?
| Paper | Digital | |
|---|---|---|
| Cost | Low | Varies (free spreadsheet to salon software) |
| Speed | Quick to draw | Quick to search |
| Photos | Kept separately | Attached to the record |
| Security | Locked physical file | Password and backup |
| Sharing with the team | Difficult | Easy |
Many salons combine both: a diagram drawn on paper, photographed and attached to the client’s digital profile.
How do you introduce the sheet in your salon?
- Create one template for the whole team;
- Start with regular clients, who come back often;
- Set aside 5 minutes in each cut’s booking for records;
- Review sheets at a monthly meeting, discussing cases;
- Use the sheet at the next appointment: read it before the client sits down.
Common mistakes
- Writing "layered" without elevation, over-direction and lengths;
- Photographing with different light and backgrounds each time;
- Keeping photos on a personal phone without consent or security;
- Filling it in only "when there is time";
- Not recording texture and chemical history, which change how the cut behaves;
- Using abbreviations only you understand;
- Never rereading old sheets before the next appointment.
Record sheets and visagism
The sheet records the how; visagism explains the why. Noting that the cut ends 2 cm below the chin because the client has a round face and wants to lengthen it turns the sheet into a consultation tool. See that reasoning applied in haircuts for round faces.
Frequently asked questions
It is a record of the technical decisions behind a cut — sections, elevation, over-direction, guideline, tools, lengths and finish — usually with a head diagram and photos. It lets you repeat the cut, train your team and follow the client over time.
Elevation is the angle at which a section is lifted relative to the curve of the head (0°, 45°, 90°…). Over-direction (projection) is the direction the section is pulled before cutting — forwards, backwards or sideways — which defines where weight and length will build up.
Yes. Photos are personal data. Ask for written consent, explain how the images will be used and store them securely. For publicity use, the permission must be specific.
With a ready-made template, 3 to 5 minutes. Ideally, note things down during the cut, right after each stage, and take the photos at the end with the hair styled.

Cutting with a method, from start to record
A record sheet only makes sense when the cut is built with a method: sections, guideline, elevation and over-direction planned for that face and that texture. The Cutting Technology Course offers 16 hours of practice with the short bob, the pixie and adaptation for wavy, curly and coily hair, with visagism applied to cutting and technical records at each stage.
Want to add face and personality reading to your service? The Visagism & Personal Image Course completes your training.
Nelma Faleiro holds a degree in Visagism and Hair Therapy Technology from Anhembi Morumbi University, where she taught for 10 years, and received the SINVISA 2025 Trophy at the 3rd International Visagism Seminar.